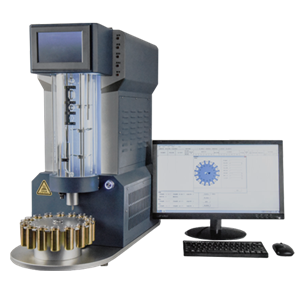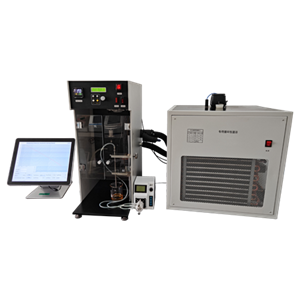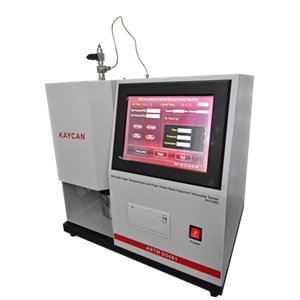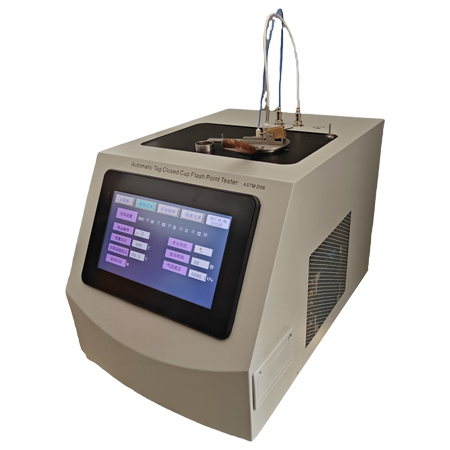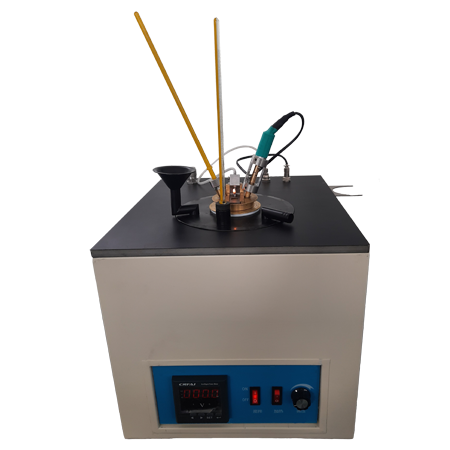
ASTM D5001 Ball-on-Cylinder Lubricity Evaluator (BOCLE)
Brand KN
Product origin DALIAN
Delivery time 30 DAYS AFTER RECIECING FULL PAYMENT
Supply capacity 10 SETS/MONTH
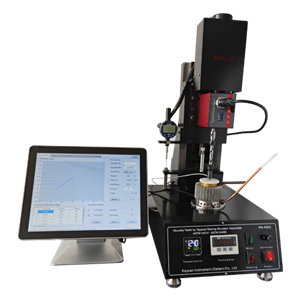
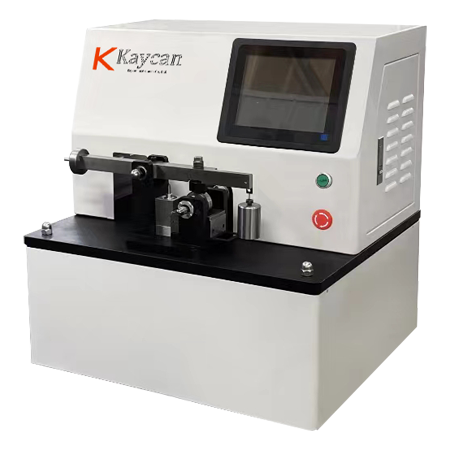
KN-5001 Ball-on-Cylinder Lubricity Evaluator (BOCLE) conforms to ASTM D5001 Standard Test Method for Measurement of Lubricity of Aviation Turbine Fuels by the Ball-on-Cylinder Lubricity Evaluator (BOCLE) and ASTM D6078 Standard Test Method for Evaluating Lubricity of Diesel Fuels by the Scuffing Load Ball-on-Cylinder Lubricity Evaluator (SLBOCLE).. The fluid under test is placed in a test reservoir in which atmospheric air is maintained at 10% relative humidity. A non-rotating steel ball is held in a vertically mounted chuck and forced against the outside diameter of an axially mounted cylindrical steel ring with an applied load. The test ring is rotated at a fixed speed while being partially immersed in the fluid reservoir. This maintains the ring in a wet condition and continuously transports the test fluid to the ball/ring interface. The wear scar generated on the test ball is a measure of the lubricating property of the fluid.
KN-5001 Ball-on-Cylinder Lubricity Evaluator (BOCLE)
Overview
KN-5001 Ball-on-Cylinder Lubricity Evaluator (BOCLE) conforms to ASTM D5001 Standard Test Method for Measurement of Lubricity of Aviation Turbine Fuels by the Ball-on-Cylinder Lubricity Evaluator (BOCLE) and ASTM D6078 Standard Test Method for Evaluating Lubricity of Diesel Fuels by the Scuffing Load Ball-on-Cylinder Lubricity Evaluator (SLBOCLE) . The fluid under test is placed in a test reservoir in which atmospheric air is maintained at 10% relative humidity. A non-rotating steel ball is held in a vertically mounted chuck and forced against the outside diameter of an axially mounted cylindrical steel ring with an applied load. The test ring is rotated at a fixed speed while being partially immersed in the fluid reservoir. This maintains the ring in a wet condition and continuously transports the test fluid to the ball/ring interface. The wear scar generated on the test ball is a measure of the lubricating property of the fluid.
Features
Adopts PLC control system for fully automatic process.
Adopts semi-conductor for heating and cooling, it features short time cost and accurate temperature controlling
The gas relative humidity adjustment adopts a high-precision gas mass flow controller, which features fast adjustment and small drift, improving testing efficiency
Adopts touch screen operation to make all related parameters clear
Equipped with microscope and camera system, also adopts coaxial light illumination technology for binocular observation, with a clear and bright field of view. The long focal length objective lens makes it easy to take and place steel balls, and the electronic micrometer measures the size of wear spots accurately and quickly
Adopts the standard assembly to improve the test accuracy
Standard Operating Conditions
Fluid volume: 50±1.0ml
Fluid temperature: 25±1℃
Fluid pretreatment: 0.5L/min flowing through and 3.3L/min over the fluid for 15min
Cylinder rotational speed: 0~240rpm (when speed is 240rpm, error should be within 1rpm)
Maximum test force: 10N
Applied load: 1000g (500g weight)(±1g)
Test force display error: ±0.5%
Test force display repetitive error: ±0.5%
Conditioned air: 10%±0.2%, relative humidity at 25±1℃
Test duration: 30±0.1min
Relative humidity: (10±0.2)
